$
0.0000
0 items
Checkout
Search Products:
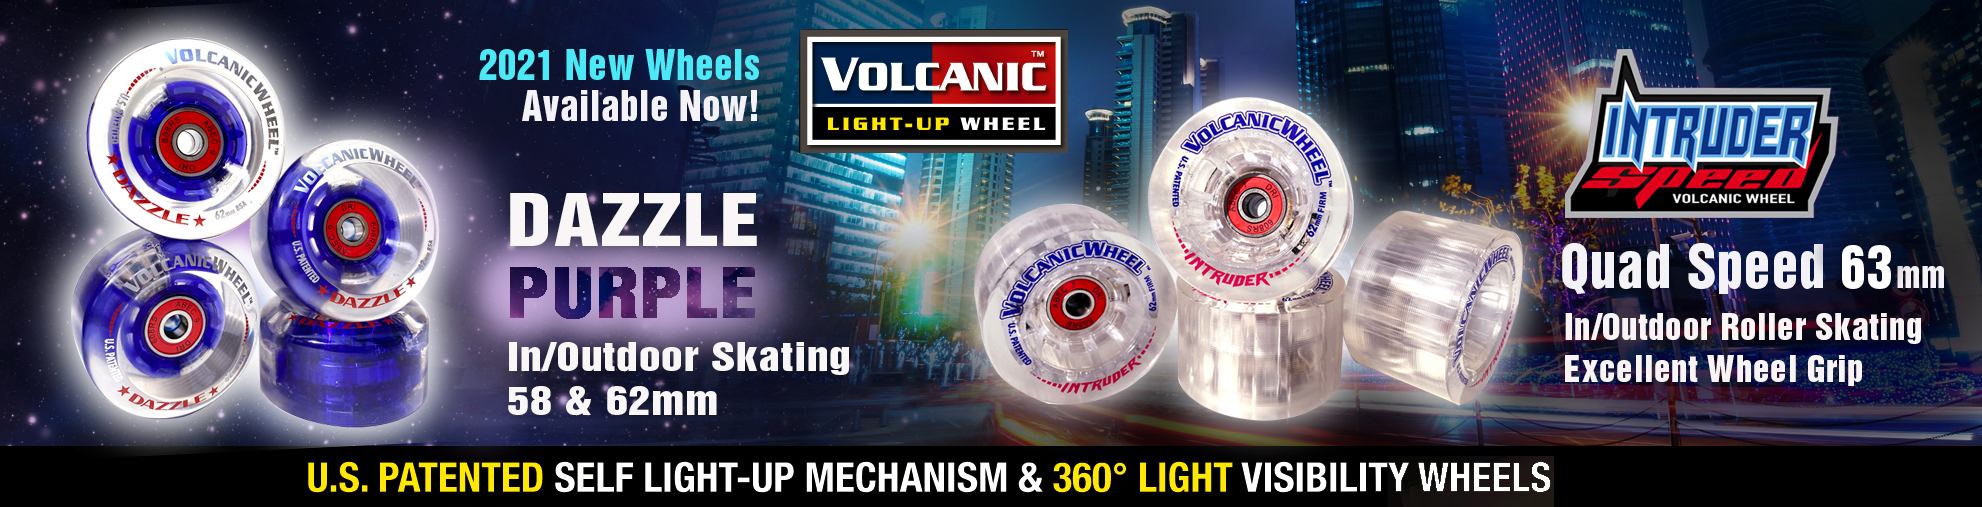
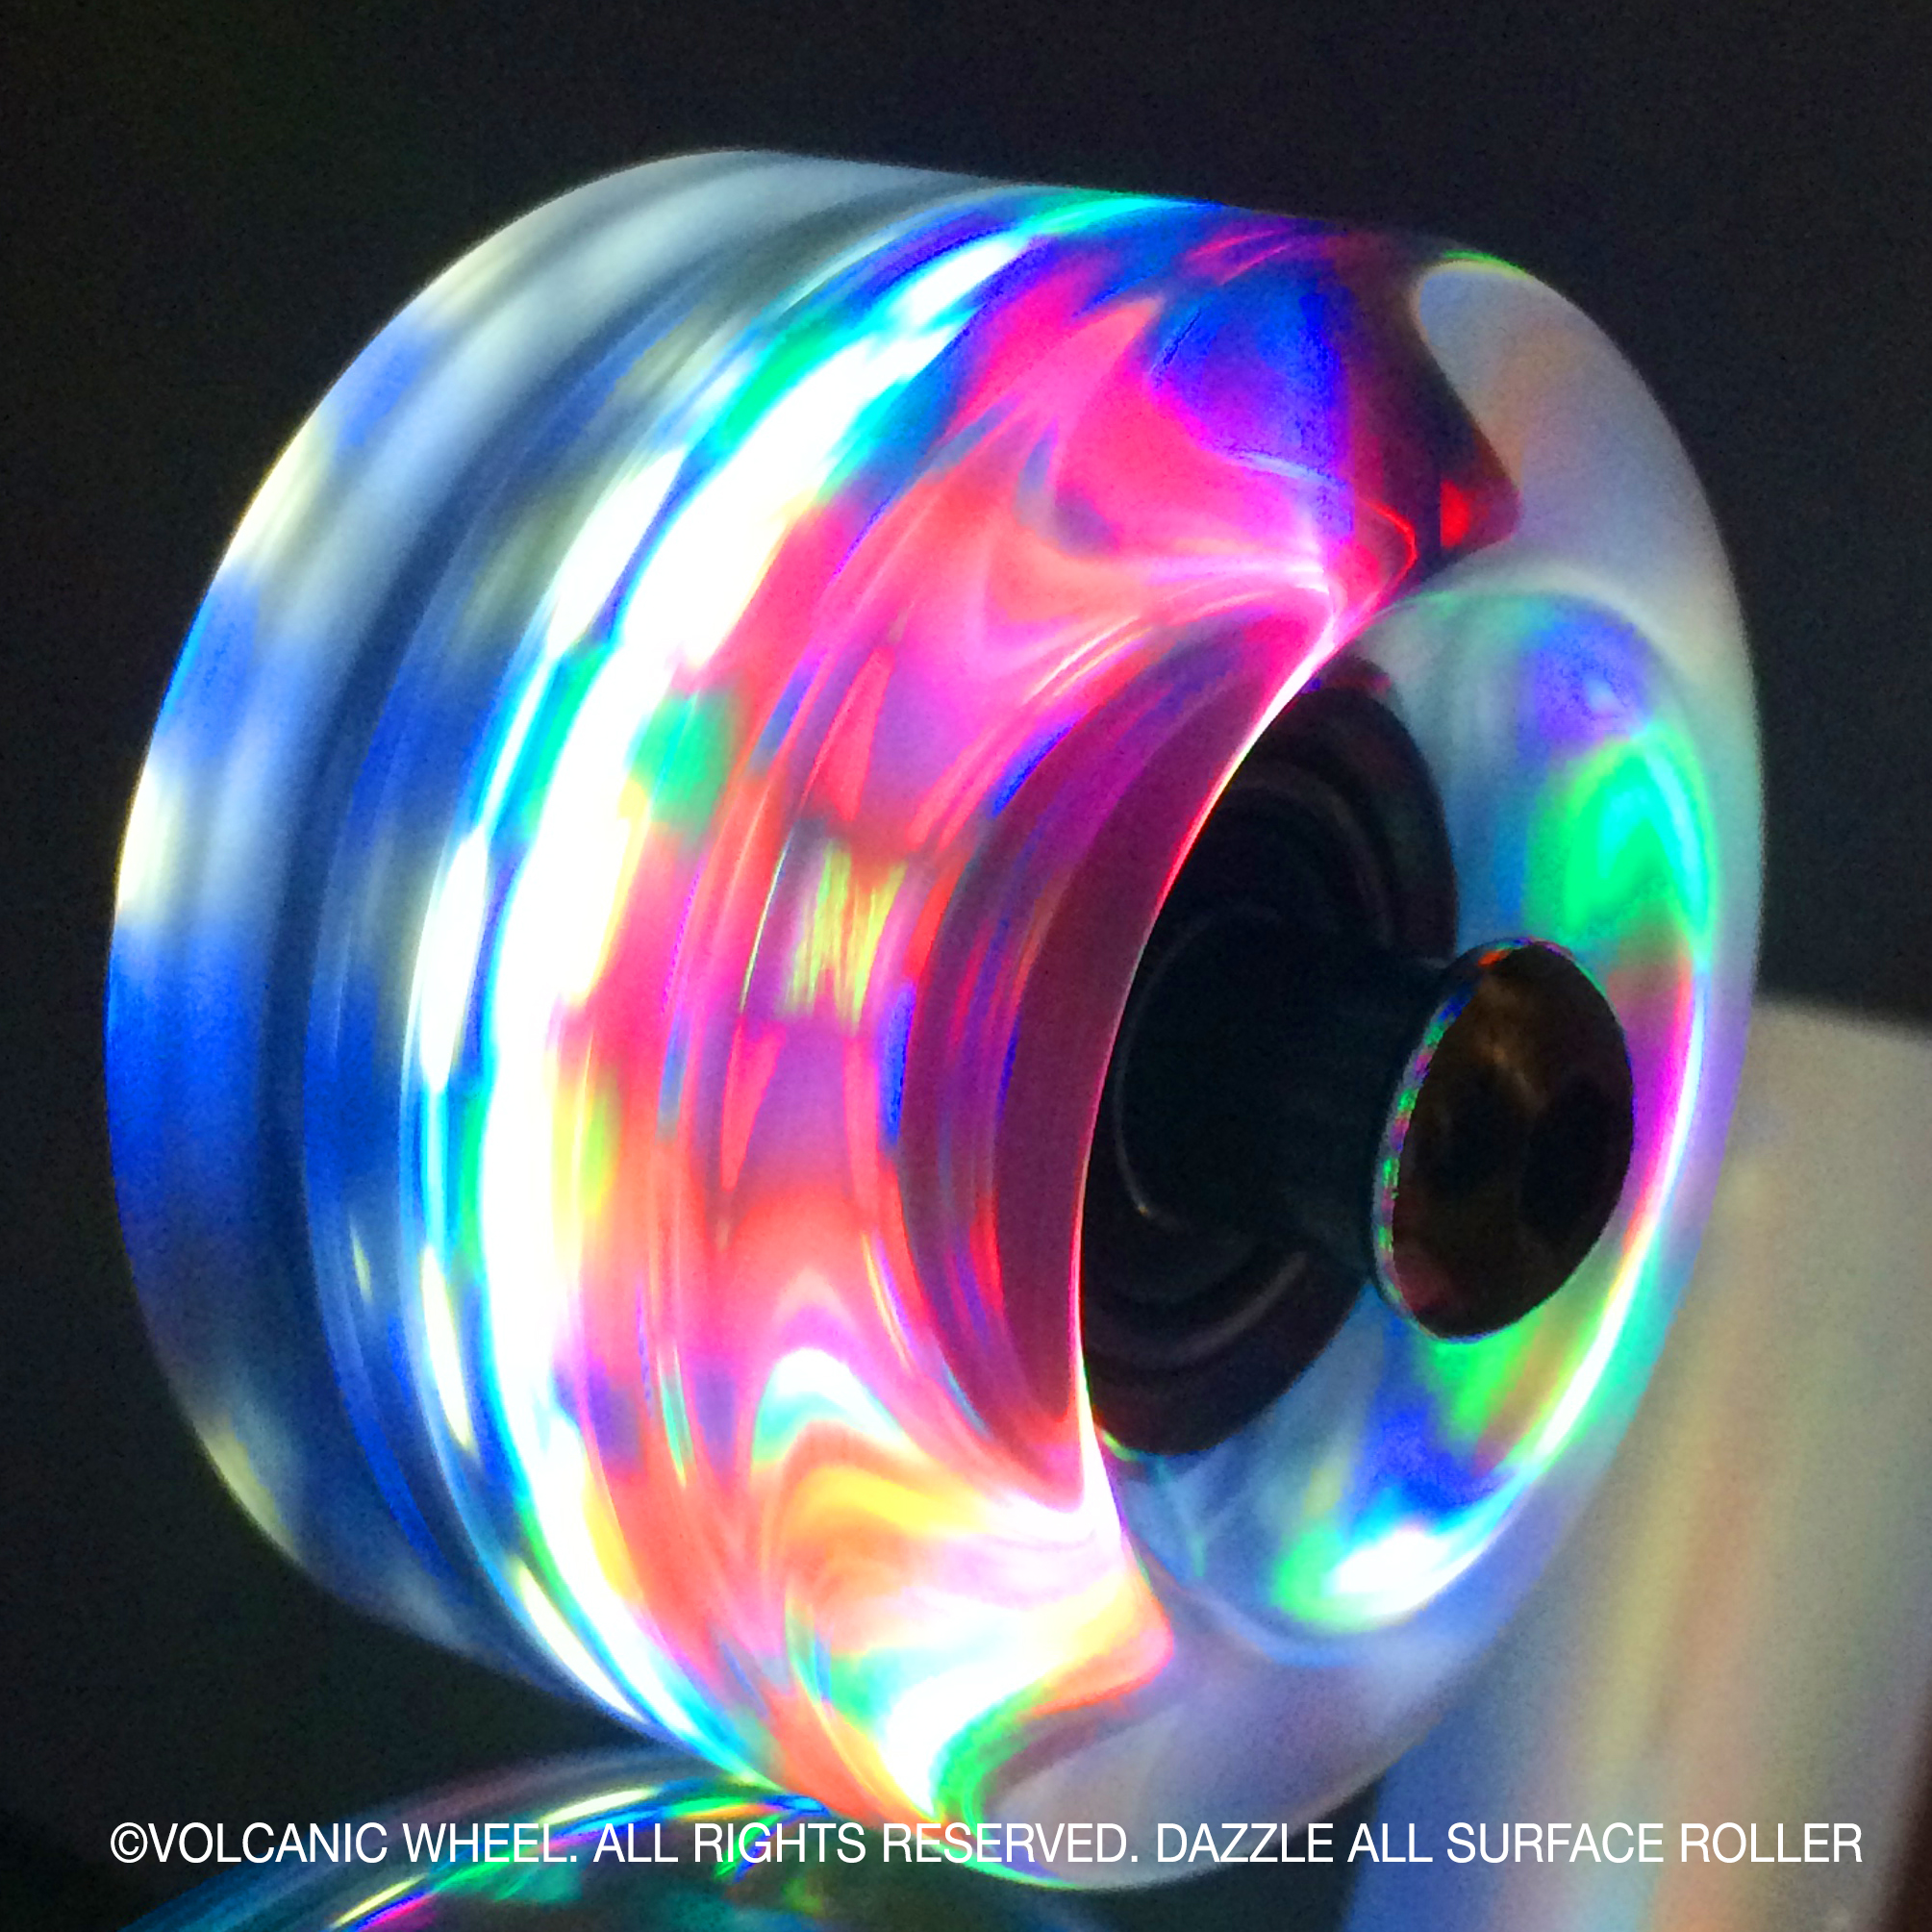
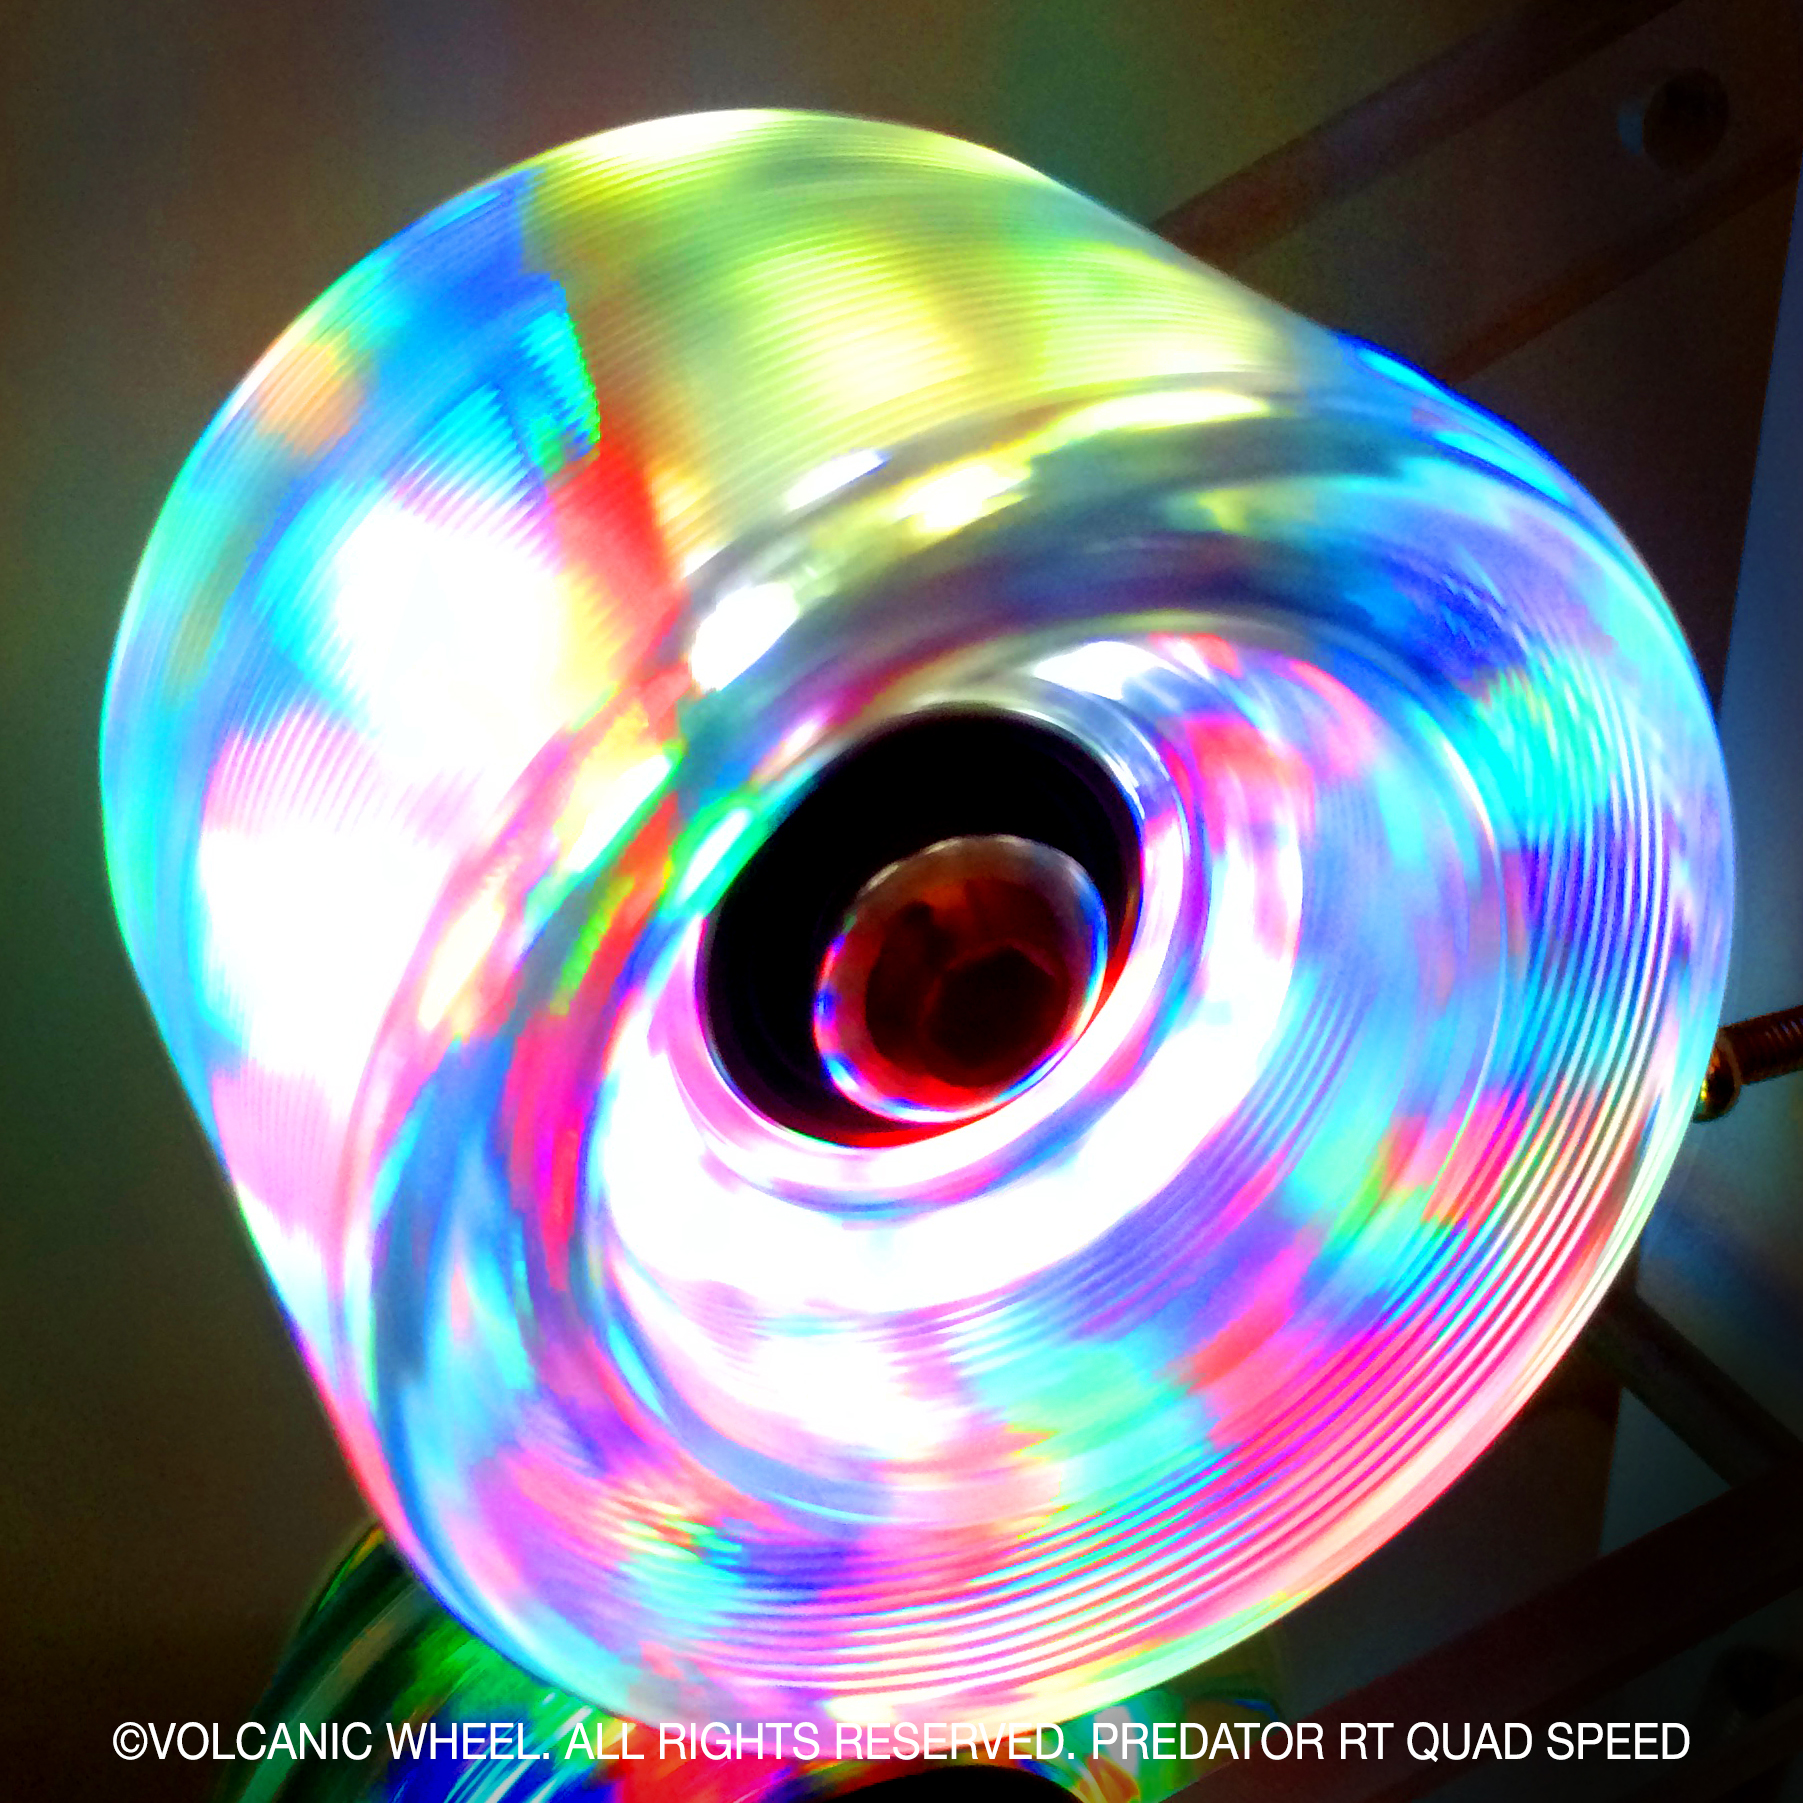
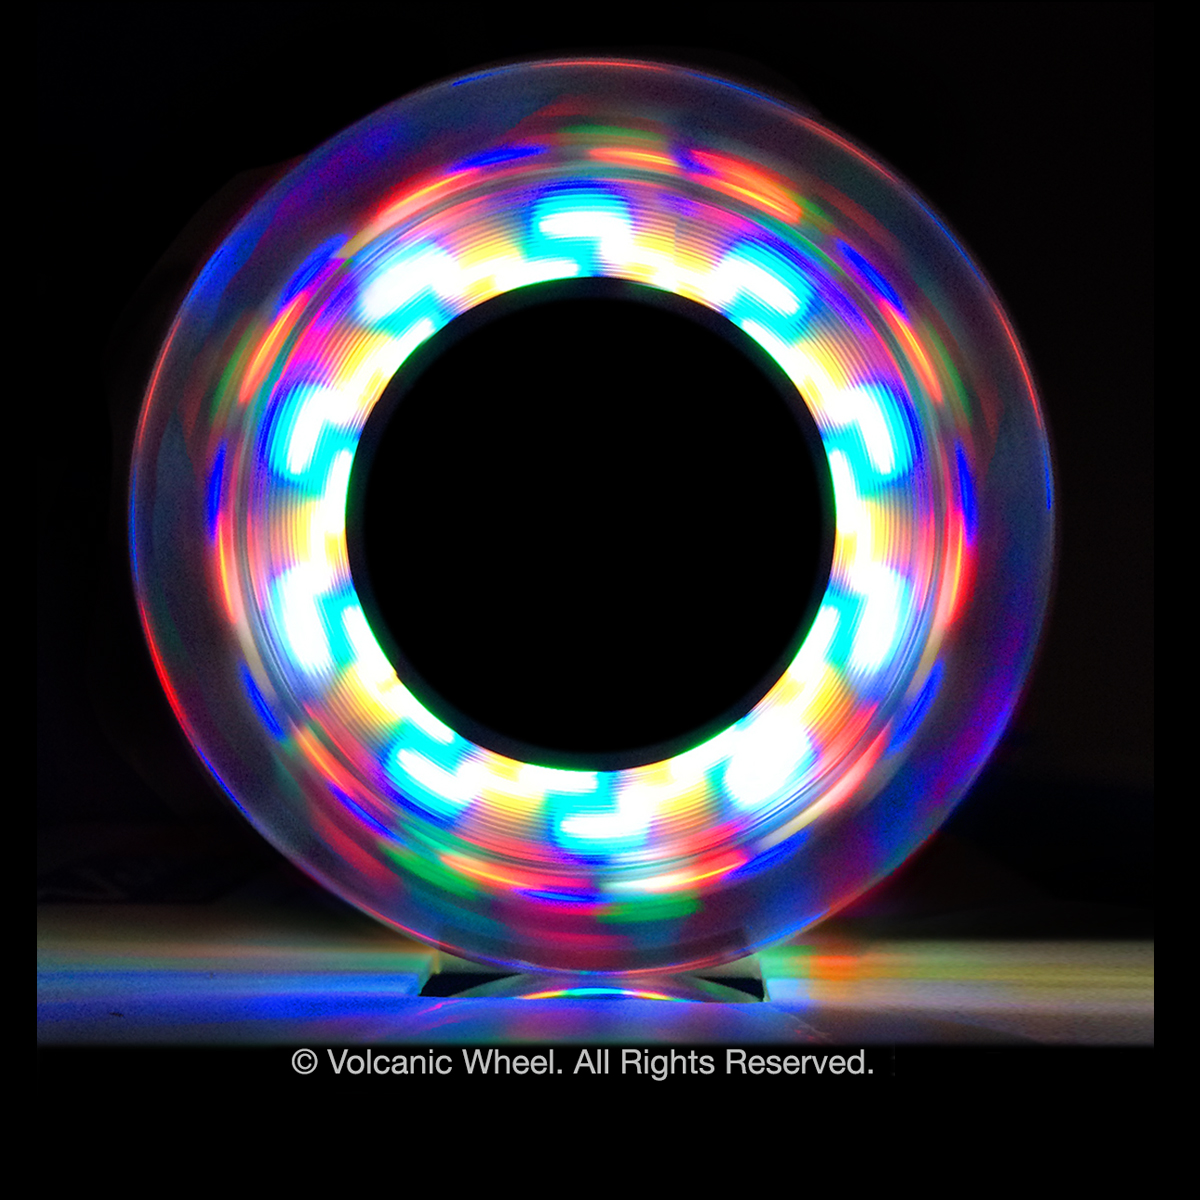
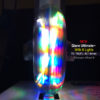
Volcanic Wheel
The Ultimate Self Light-up Wheel
²
Navigation
Home
About Us
Products
Roller Skate Wheels
Dazzle 62mm In & Outdoor
Dazzle 58mm In & Outdoor
Dazzle Mini 54mm Indoor
Intruder Speed 63mm Indoor
Predator Speed 62mm Indoor
Inline Skate Wheels
Glare 64 & 68mm
Glare 72mm
Glare 76mm
Glare 80mm
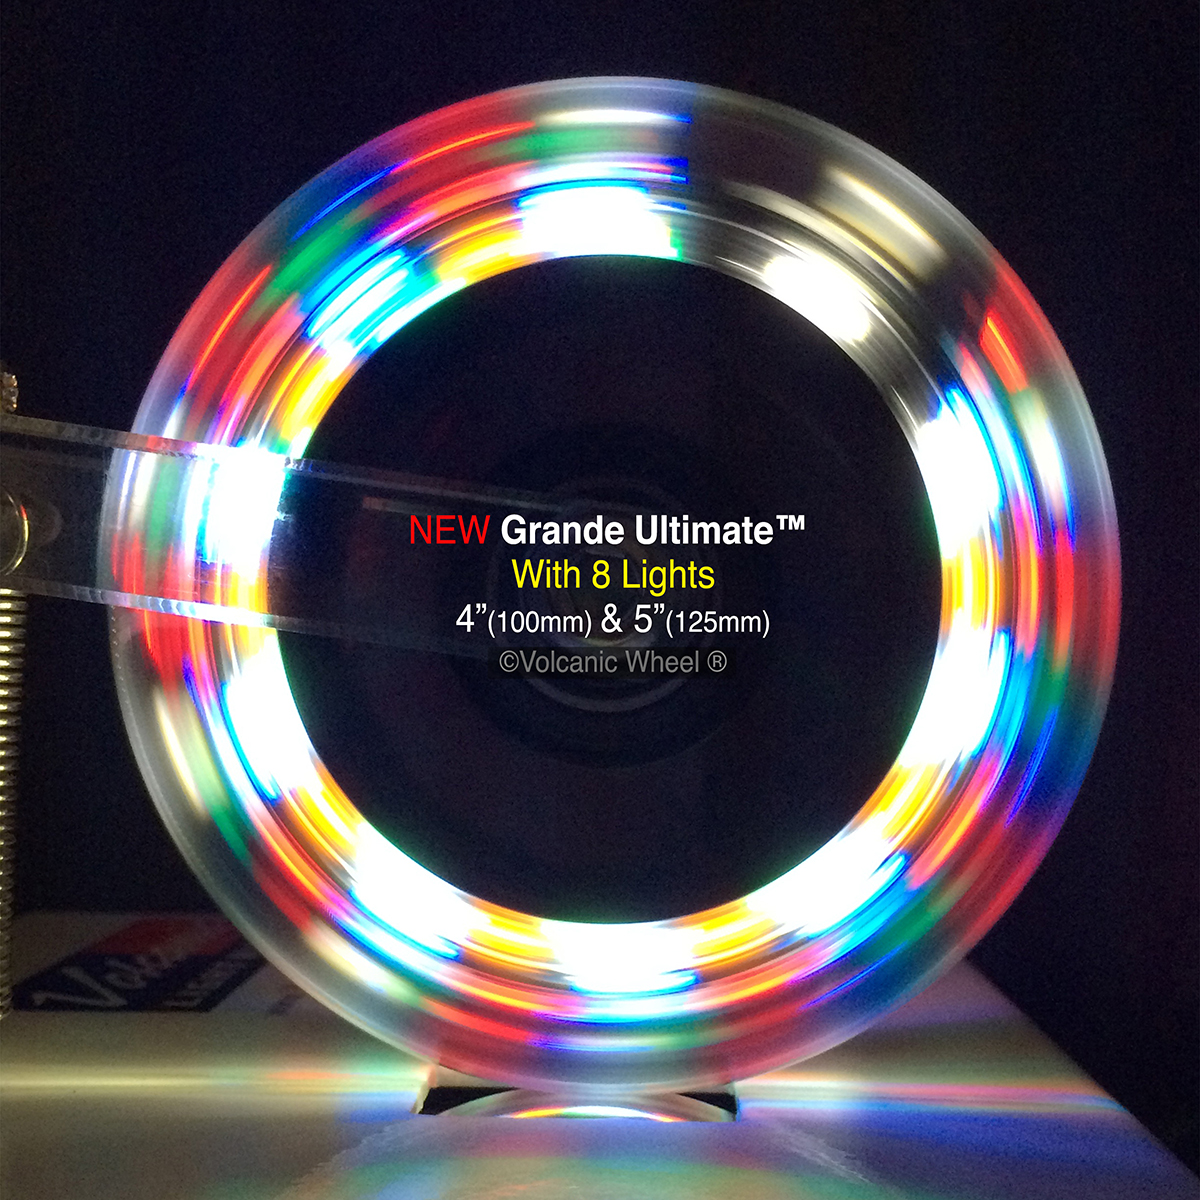
Grande: 90mm
Grande 100mm
Grande 110mm
Grande 125mm
Star 68mm: Youth
Skateboard Wheels
RoadStar 60mm
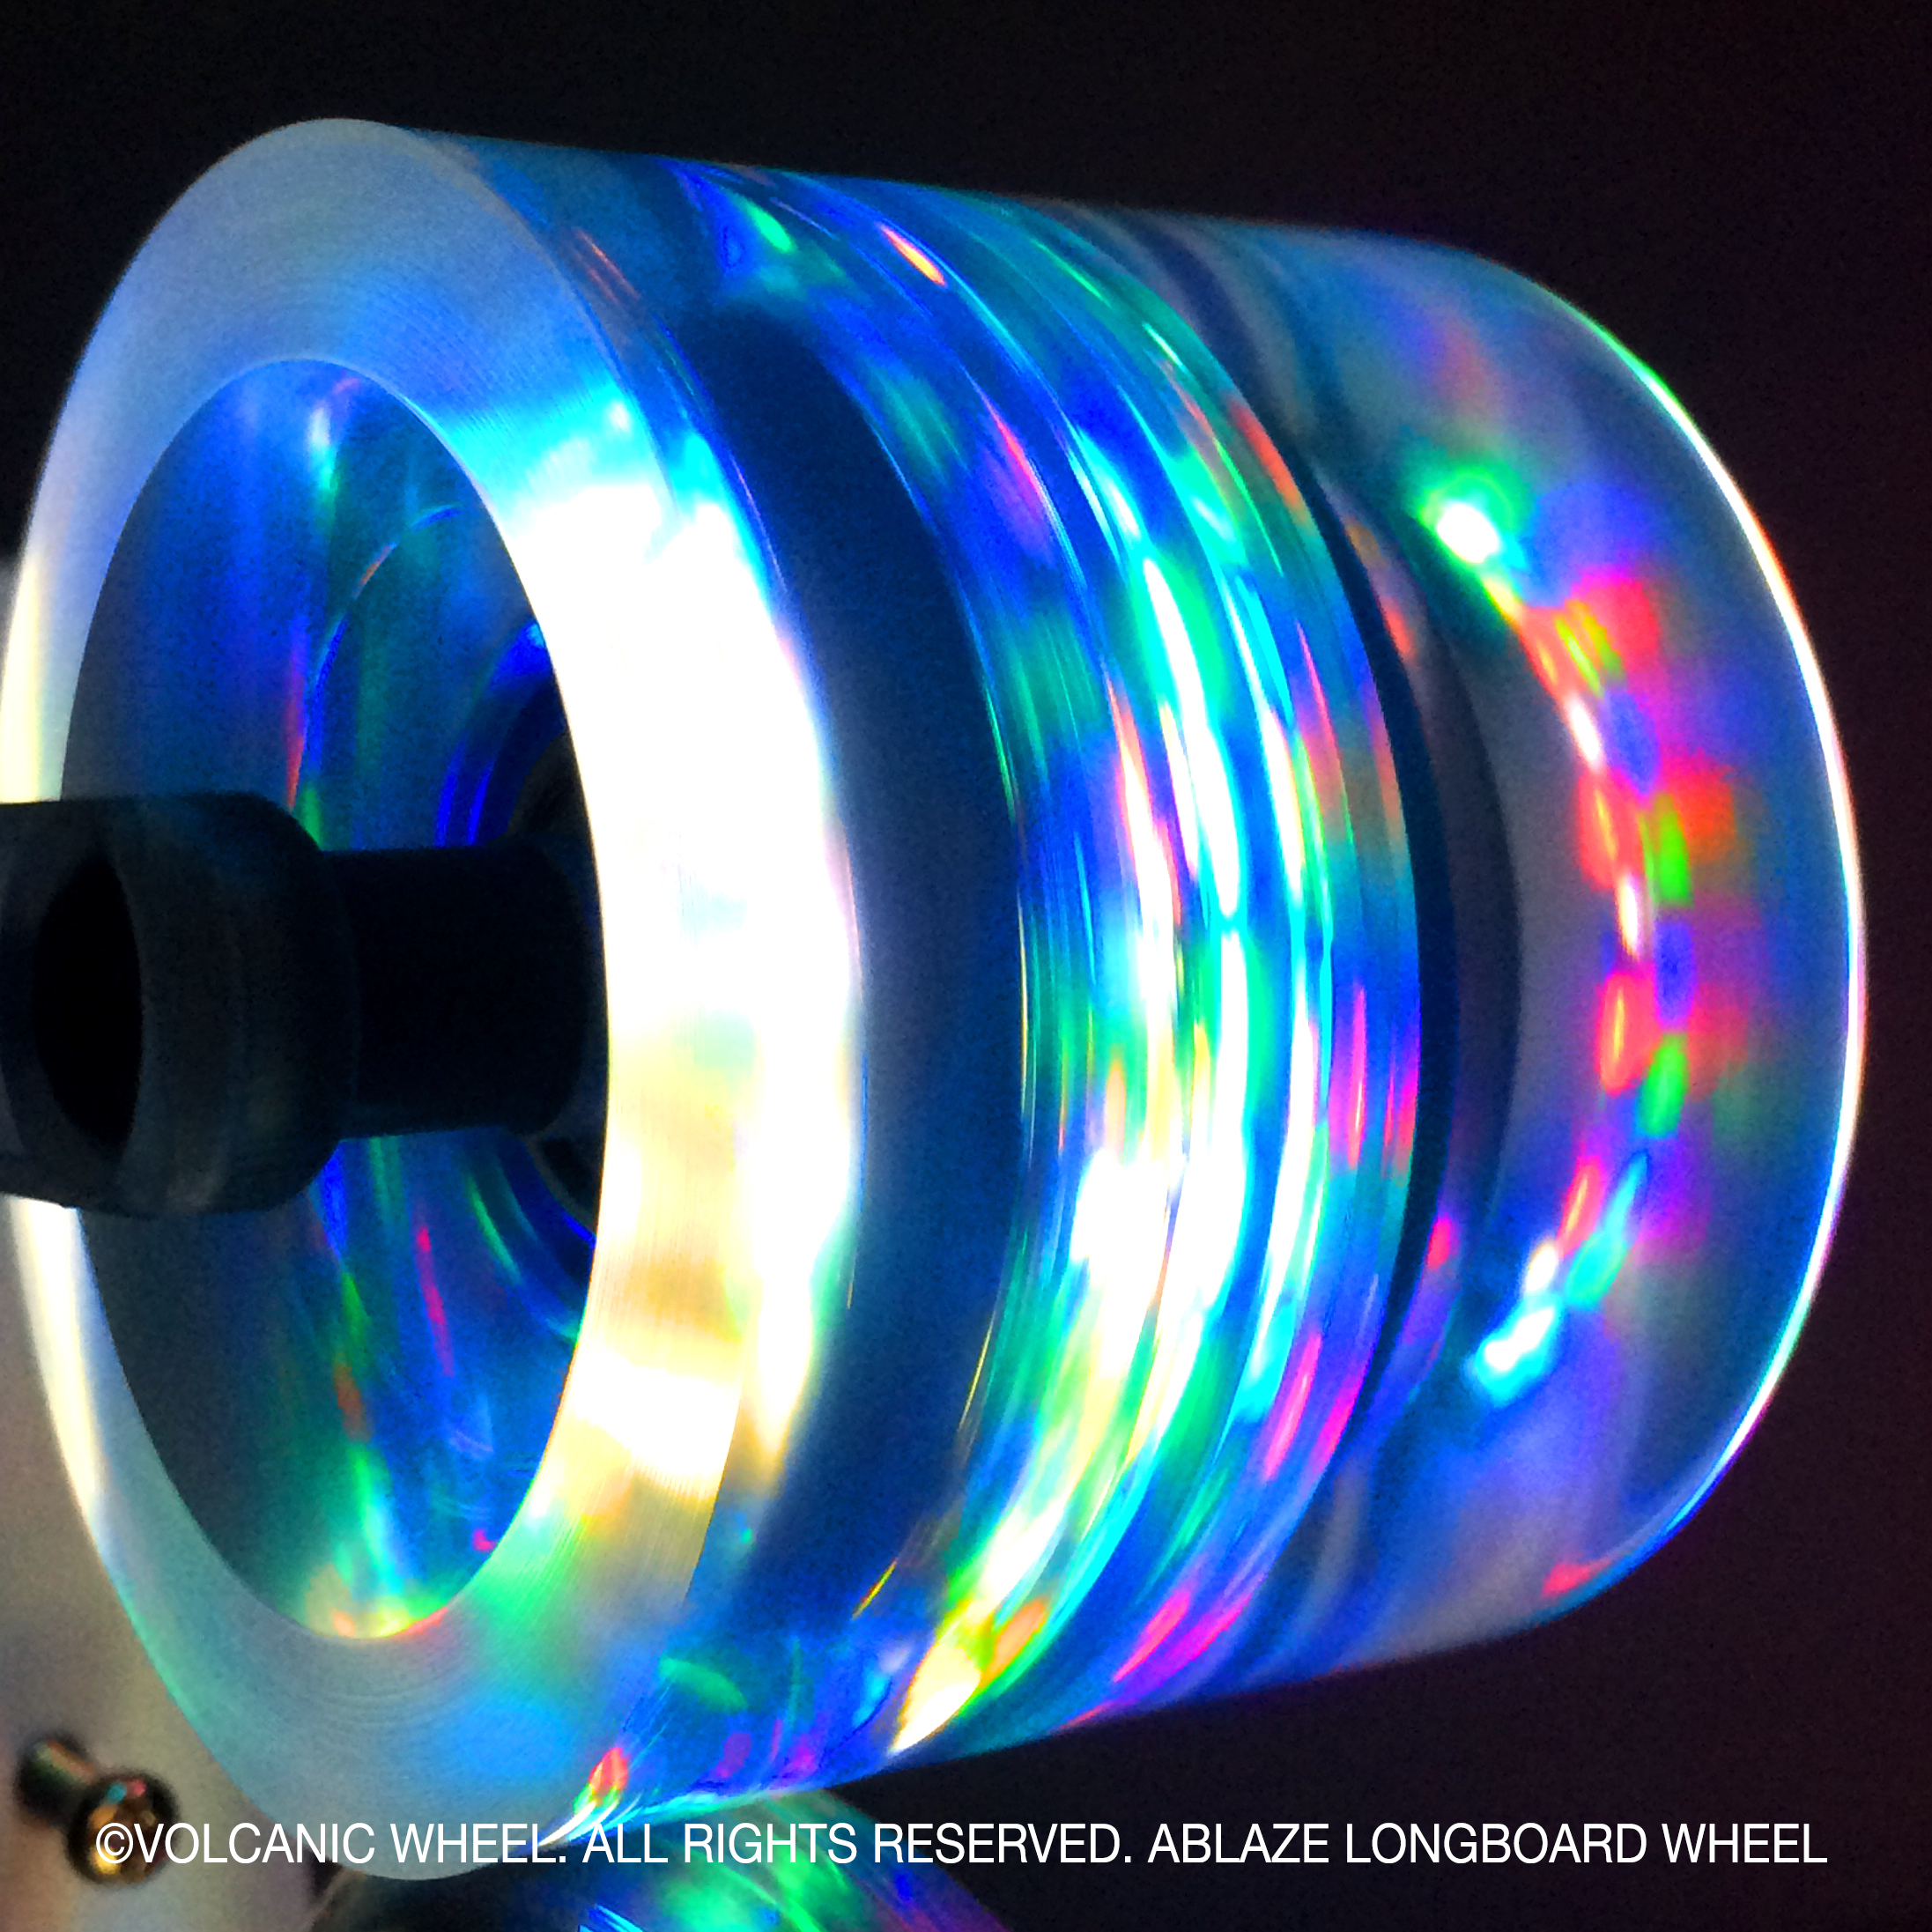
Ablaze Longboard 65 & 70mm
Wheelchair Wheels
Glare 3″ (76 & 80mm)
Grande 4″ (100mm)
Grande 5″ (125mm)
Grande 5″(125mm)”x 1.25″ NEW WIDER
Grande 6″(145mm) x1.25″ NEW
Non-Lighted 3″ (76 & 80mm)
Kick Scooter Wheels
Grande 4″ (100mm)
Grande 110mm
Grande 5″ (125mm)
Ripstik & more
Glare 76mm
Glare 80mm
Luggage Wheels
Glare 72mm
Glare 76mm
Glare 80mm
Performance Bearings
Parts & Accessories
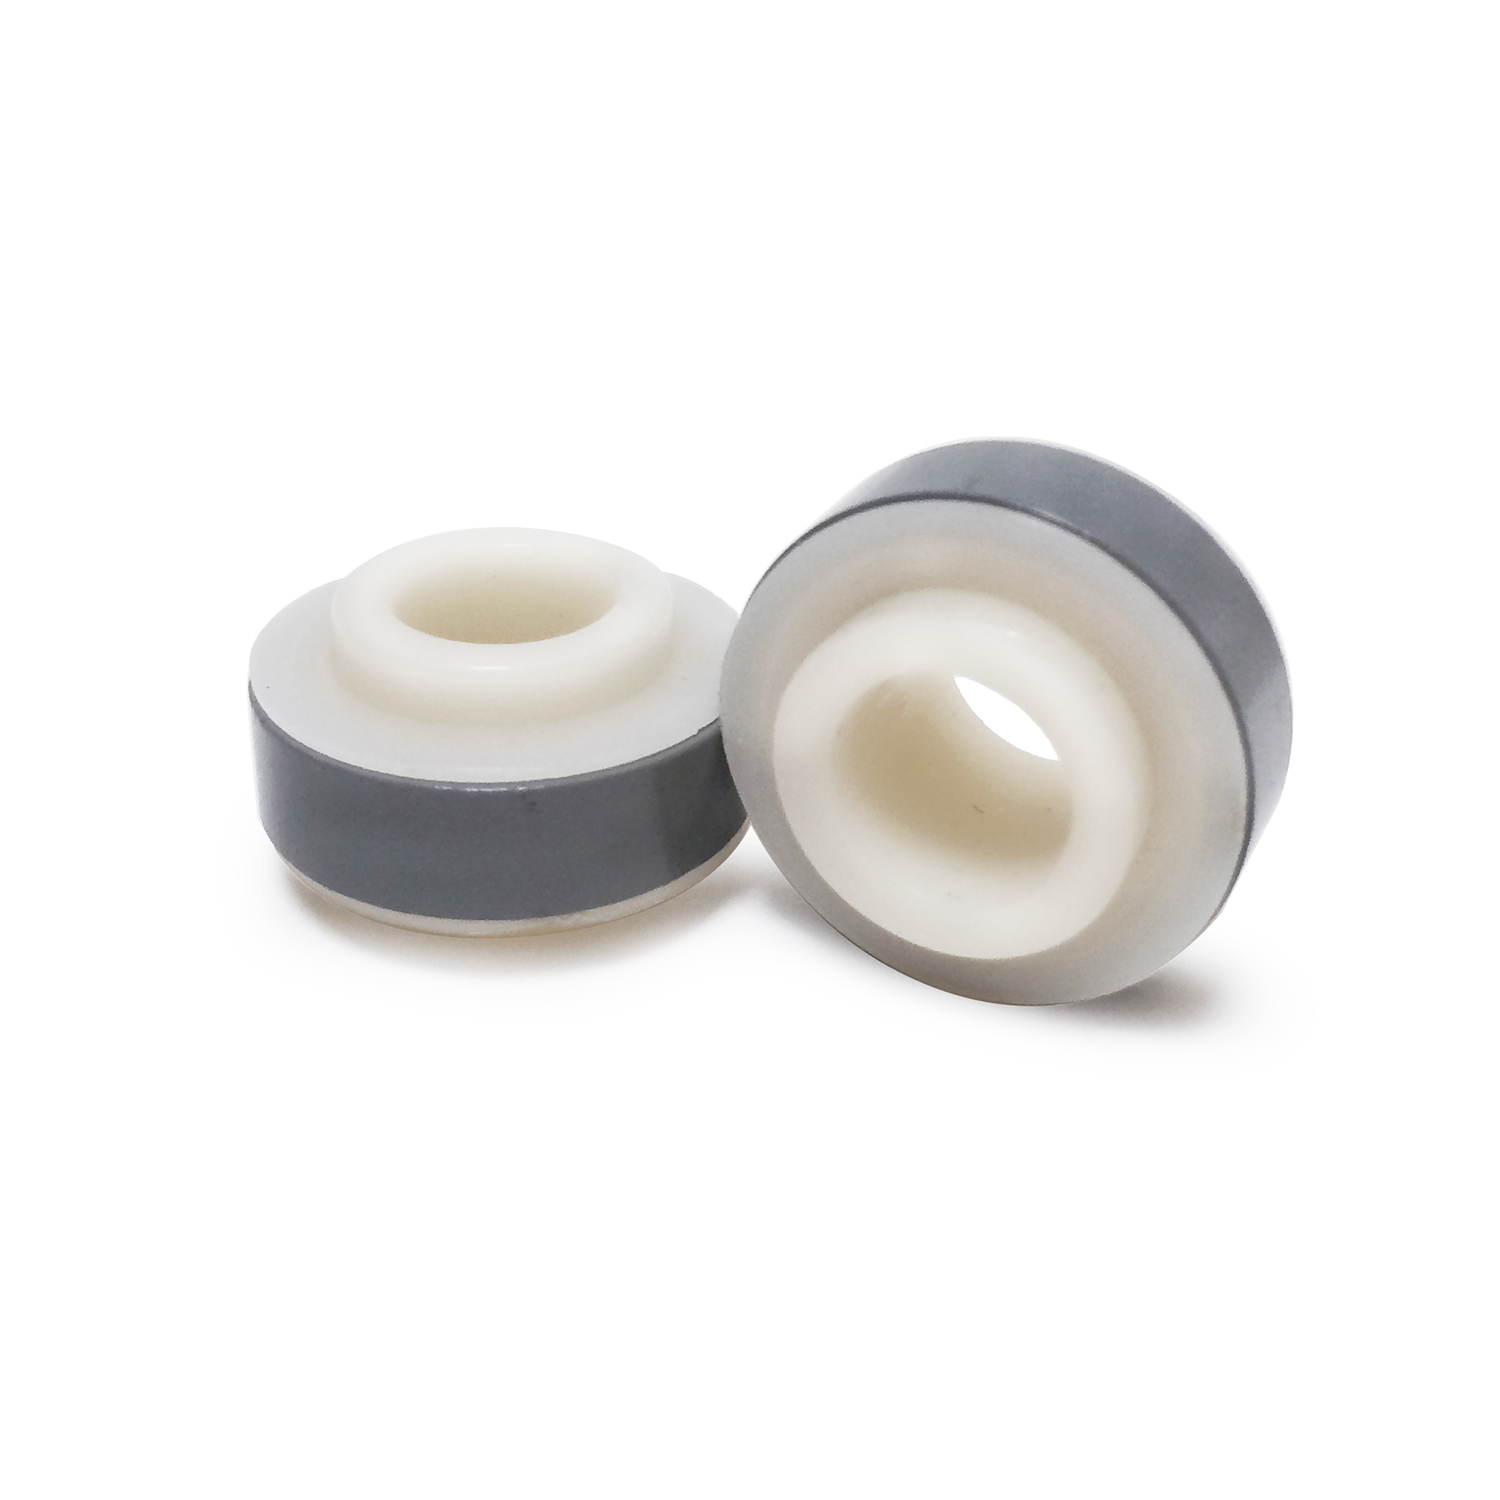
Magnet Ring: For Inline Skates & Scooters
Magnet Rings: For Roller Skates & Skateboards
Magnet Ring: For Wheelchairs
Magnet Ring: For 3/8″ Wheelchair Axles
Thin Washers: 7mm (2 pcs.)
Thin Washers: 8mm (2 pcs.)
Gallery
Video Gallery
Clips from Volcanic Wheelers
Product Inquiry
Order Inquiry
Contact Us
Product Categories
Roller/Quad Skate Wheels
(7)
In/Outdoor Roller Skate Wheels
(5)
Quad Speed Wheels
(2)
Inline Skate Wheels
(9)
Kick Scooter Wheels
(3)
Wheelchair Wheels
(8)
Skateboard Wheels
(2)
Luggage Wheels
(3)
Ripstik & more
(2)
High Performance Bearings
(2)
Parts & Accessories
(11)
Featured Products
Right click disabler plugin by jaspreetchahal.org